We provide VPN services with servers in over 44 countries to protect your security and privacy, and allow you to bypass geographic restrictions.
Read more about how our VPN works here.
This page will guide you through configuring your Wii to connect to your proxy server. Please note that you’ll first need to set up a working proxy server on your Windows or Mac computer.
If you haven’t done so yet, kindly refer to one of our guides below to set up a proxy server on your Windows or Mac computer.
Set Up Proxy Server On Windows
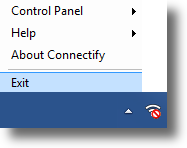
Once you have confirmed that the proxy server on your computer is working correctly, make a note of the IP Address and Proxy Server Port. You will need these later during this guide.
Don’t Have a VPN yet? Give our Free Trial a go by clicking the button below for 3 full days of unlimited access to both our VPN and MyTelly services.
*3 DAY FREE TRIAL – NO CREDIT CARD REQUIRED
To configure your Nintendo Wii (Wii) to use a proxy server, follow the steps below.
Step 1: Getting Started
Make sure that your Wii is connected to your network and that this is the same network as your computer.
You now need to edit the network settings on the Wii to configure the proxy server.
On the Wii console’s main menu, click on the Wii button in the lower left corner.
This will take you to the settings screen. On this screen, click on Wii Settings.
In the Wii Settings, click on the blue arrow on the right to reach the second page of options.
Click the Internet button.
Click Connection Settings.
Once you’re in the Connection Settings menu, select the network that you are currently using.
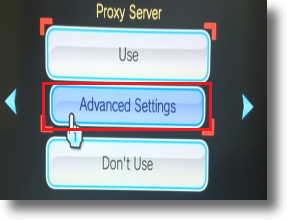
Click on Change Settings and click on the blue arrow on the right until you reach the Proxy Server page.

On the Proxy Server page choose Use and then click on Advanced Settings.
Step 2: Configuring the Proxy Server
On the Proxy Server page, enter the IP address of your computer that you have the proxy server running on in the Proxy Server field.
In the Port field, enter the Port for the proxy server on your computer.
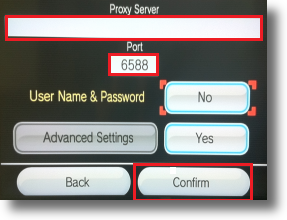
If you have followed our Proxy Server instructions for your computer, the port will usually be 6588 for a Windows system or 8080 for a Mac, either way you should have confirmed this on the computer.
Click Confirm once you’re done.
Step 3: Test Proxy Connection
After you have saved the changes for the proxy server configuration, Click OK to initiate the connection test.
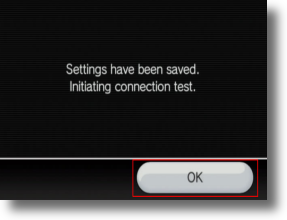
Now the Wii will test your connection.
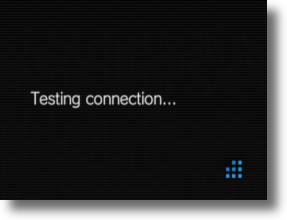
You should see a message indicating that the test was successful.
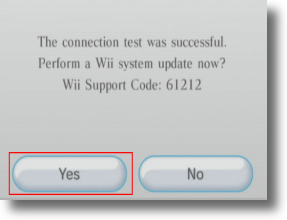
Congratulations! Your Wii is now connected to your proxy server.
If you now go to the web browser, you can check your location at https://www.my-private-network.co.uk/ipinfo/
Note: As you have told the Wii to use the proxy service on your computer, if the computer is not switched on, or if the proxy service is not running, the Wii will not be able to connect to the web.
Any problems?
Unfortunately it doesn’t always go to plan!
If you have any problems or can’t get connected, please email us at [email protected]. We’ll get back to you as soon as possible and try to help.


